Upload or create a text logo.
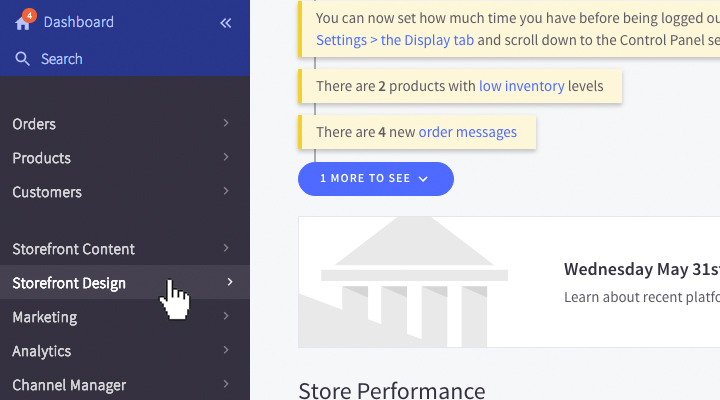
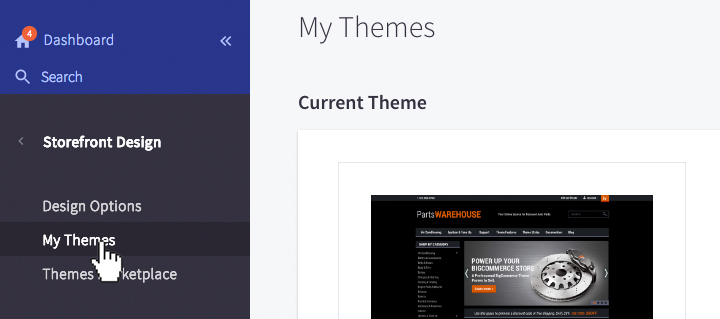
1. In your Bigcommerce control panel, click Storefront Design.

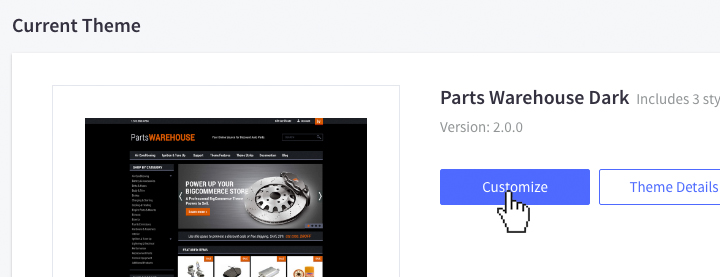
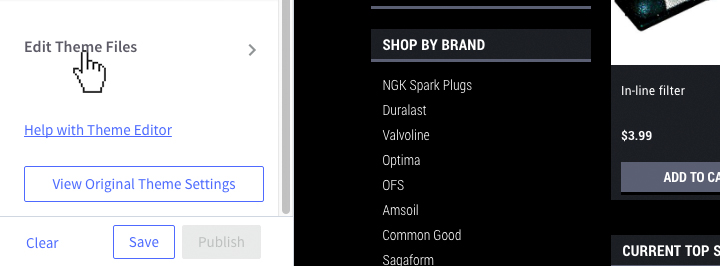
2. Click Design Options.

3. Click Logo

4. Upload your logo or choose "Show text where my logo will be displayed."
Edit theme tagline


Change the phone number on header.
1. In your Bigcommerce control panel, click Store Setup

2. Click Store Profile.

3. Edit the store phone number and click Save.

Change marketing banners.
1. In your Bigcommerce control panel, click Marketing.

2. Click Banners.

3. Click Created a banner.

4. Name your banner and edit the banner content.

5. Select Home page for where your banner will be displayed.

6. Enable the banners visibility by checking the box.
7. Choose whether your banner will be displayed at the top (directly under the carousel,) or bottom (directly above the newsletter.)

8. Click Save.
Change the contact information on footer.
1. In your Bigcommerce control panel, click Store Setup

2. Click Store Profile.

3. Edit the store contact information and click Save.

Adding Product Categories to the top Navigation.
1. In your Bigcommerce control panel, click Storefront Content.

2. click Web Pages.

3. Click Create a webpage.

4. Click "Link to another website or document."

5. Enter name of the category you wish to display under Page Name.
6. Enter the URL of the category page you wish to display under Link. In this example I am creating a page for the Air Conditioning category.

6. Check Yes, show this web page o the navigation menu.

7. Click Save & Exit.
*HELPFUL TIP
To add your subcategories to the top navigation. Repeat the steps above to create a page for each subcategory you wish to display. Nest each page accordingly in the Bigcommerce control panel.
